This Post Contains Affiliate Links. Please Read Our Disclosure for Full Information.
Hey gorgeous! ✨ Ever stared at your bronzer like, “Where the heck do I even put this?” Don’t stress—I’m here to spill the tea ☕ on how to apply bronzer like a total glow goddess. Whether you’re going for “I just got back from Mykonos” vibes or just wanna fake a healthy glow for your selfie—I got you, boo!
Let’s break it down:
💖 Step 1: Pick the Right Bronzer (You know we gotta shop first!)
Your bronzer should be 1-2 shades darker than your natural skin tone. Matte for contour, shimmery for that glow-up ✨.
👉 Check out this Top-Rated Bronzer for an instant sun-kissed slay.
💖 Step 2: Get the Right Brush (No finger painting here, babe)
Use a fluffy, angled brush for a natural, seamless finish.
👉 I love this Pro Bronzer Brush—total must-have!
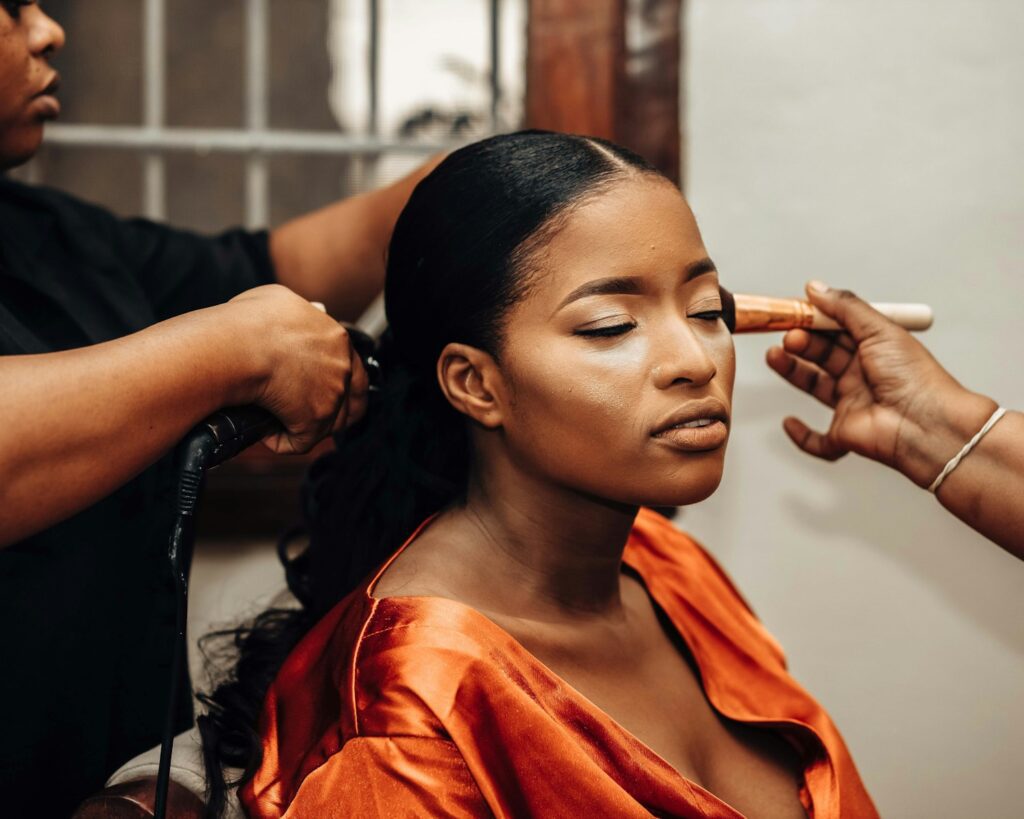
💖 Step 3: The Magic 3 Shape (The ultimate face snatch)
👉 Lightly dip your brush, tap off the excess (we’re glowing, not muddying).
👉 Apply in the shape of a “3” on each side of your face:
1️⃣ Start at your forehead near hairline
2️⃣ Sweep down to your cheekbones
3️⃣ Curve down along your jawline
This gives that lifted, sculpted, sunlit effect—so effortless, babe.
💖 Step 4: Don’t Forget These Spots:
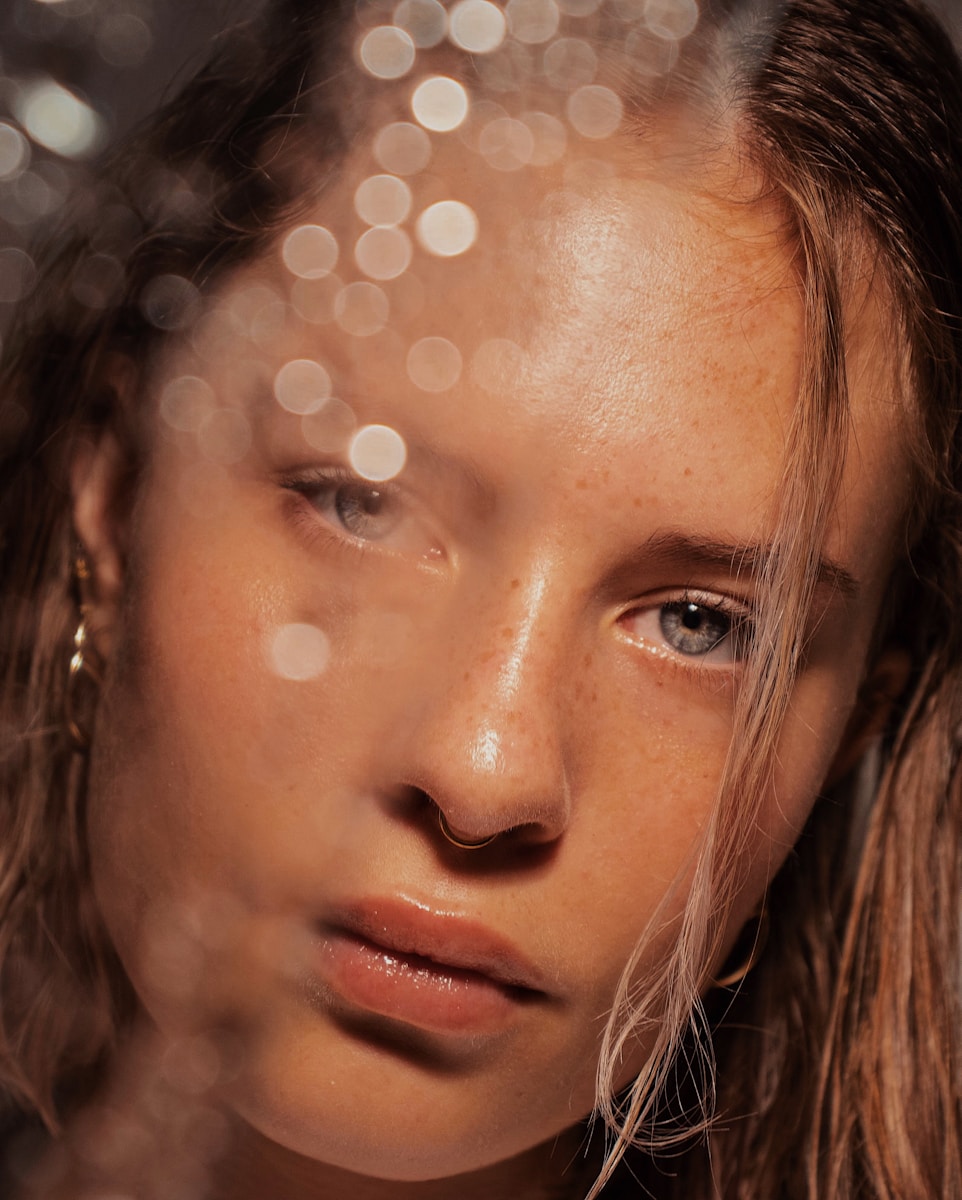
✔ Bridge of Nose: Dust a little for that “I just stepped off the beach” look.
✔ Chin & Neck: Blend down your neck—nobody wants a two-tone face.
✔ Collarbones (optional): For a hot girl summer vibe with tanks & off-shoulders.
👉 Grab this Mirror + Makeup Set for flawless application anywhere!
💖 Step 5: Glow Baby, Glow 🌞
Set it with a little setting spray or highlight on the high points for that dewy look.
👉 This Glow Setting Spray is chef’s kiss for locking it in.
💖 Quick Bronzer Don’ts:
🚫 Don’t overdo it—subtle glow > orange face
🚫 Don’t skip blending (we don’t do harsh lines, babe)
🚫 Don’t forget to check in natural light!
✨ Final Glow-Up:
And there you have it, bestie—your bronzer glow guide in plain English (with a sprinkle of sass)! You’ll look sun-kissed, radiant, and selfie-ready 24/7. 💋
PS: All the cute makeup tools linked are chef’s kiss for leveling up your glow game!
Your life, finally organized in one place.
An aesthetic digital planner bundle made to simplify your goals, routines, finances, and daily life.
Get Now