
This Post Contains Affiliate Links. Please Read Our Disclosure for Full Information.
Hey Bestie! 💕
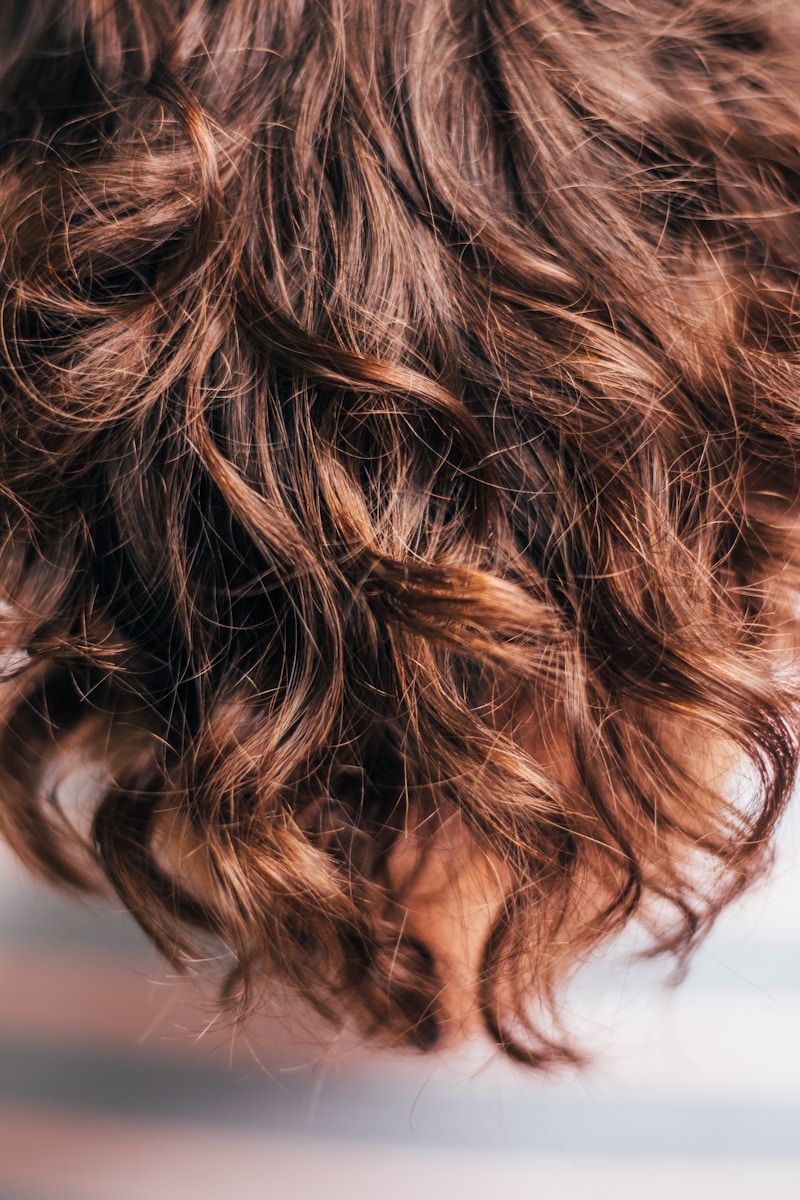
Wavy hair is the ultimate effortless baddie look. It’s that “I woke up like this” vibe we all lowkey want. But girl, who has time for curling irons, heat damage, or expensive salon treatments? Not us.
That’s why I’m spilling the tea on 10 easy, no-heat, totally doable DIY hacks to get those gorgeous, beachy waves right at home. Ready to slay the hair game? Let’s get wavy 🌊✨.
🌙 1. The Overnight Braid Magic
Literally the easiest hack ever—just braid your damp hair before bed and wake up to soft, natural waves. Loose braids = bigger waves, tighter braids = tighter curls. It’s giving lazy girl chic.
👉 Shop Satin Scrunchies (No Hair Breakage!)
👑 2. The Twist & Pin Method
Split damp hair into sections, twist each section tightly, pin them up, and let them air dry. It’s like a mini salon day without the cost. Soft, bouncy waves incoming!
👉 Get No-Crease Hair Clips
💫 3. Heatless Headband Curls
Put on a soft headband, wrap sections of slightly damp hair around it, sleep on it—and boom: princess waves in the morning.
👉 Shop Soft Fabric Headbands
🥥 4. Sea Salt Spray for Beachy Vibes
A quick spritz of DIY sea salt spray gives you instant messy, beachy waves. Mix sea salt, a little coconut oil, and water—shake and spray!
👉 Get Sea Salt Spray (Ready-Made!)
💤 5. Sock Bun Waves
Roll damp hair into a high sock bun overnight, wake up, shake it out, and—hello volume and waves! No heat, no damage, full slay.
👉 Shop Soft Hair Donuts
💕 6. The Paper Towel Roll Trick
Wrap small sections of hair around paper towel strips, tie them like mini curlers, leave overnight, and enjoy cute, bouncy waves. Retro but it works!
👉 Use Eco-Friendly Paper Towels
🛁 7. Scrunch & Diffuse
If you’re short on time but still want the vibe, apply curl cream or mousse to damp hair, scrunch, and use a diffuser on low heat. Cute waves in minutes!
👉 Get a Diffuser Attachment
🥑 8. Aloe Vera Gel Waves
Aloe vera is not just for skin, babe! Applying a tiny bit to damp hair and braiding locks in moisture and helps enhance natural wave patterns.
👉 Shop Pure Aloe Vera Gel
🌼 9. The Pin Curl Throwback
Old school but iconic—wrap small hair sections around your fingers, pin them flat, let them set, and shake out for soft waves. Think vintage glam meets TikTok glow.
👉 Find Bobby Pins in Bulk
🥥 10. Curl-Enhancing Hair Mousse
Use a curl-enhancing mousse on damp hair, scrunch it up, air dry or diffuse, and you’re done. Soft, shiny waves with zero effort.
👉 Get Curl-Defining Mousse
💖 Final Wave Check:
And there you have it, queen! 10 easy, no-heat hacks for dreamy wavy hair you can literally do anytime, anywhere. No heat. No salon bills. Just YOU looking flawless with effortless waves. 🌊✨
So go ahead, try one (or all) of these and get ready for those “OMG your hair looks amazing!” compliments. You deserve it. 💅💖
xoxo,
Serenity Talks
We are giving it for free to our users
Get 1 Free Digital Planner
Try Our Daily Planner and if You Like It Then finally Proceed with the Full Bundle.